We live in rural Colorado, so we do most of our cooking at home. We enjoy the quiet of a small town and all that it has to offer. What it doesn’t have is any fast food or even a grocery store for that matter. We live 30 minutes from the closest fast food. However, we still get that craving for Chick-Fil-A…. our problem is the closest one is THREE hours away! Cue the dramatic violin music!
On our latest road trip during Christmas we had a family vote that Chick-fil-a was our favorite on the go food while traveling. We love the real chicken bites accompanied by the awesome and addictive Chick-fil-a sauce. When they ask how many sauces we would like, I then ask how many we are allowed! HA HA! When we got home from vacation the urge for yummy chicken was still there but we are not going to travel three hours every time. I have been working on making our time between road trips easier with a little homemade Chick-fil-a chicken and chick-fil-a sauce. Is it the real thing?…. no. They are obviously the best at their chicken delicacy but this is what I have discovered works for our family and it has minimal ingredients to buy.
Only 4 Ingredients For Dinner
CHICKEN– For our family of four we usually do 1 chicken breast per person. If you prefer chicken tenders or thighs you can use those too.
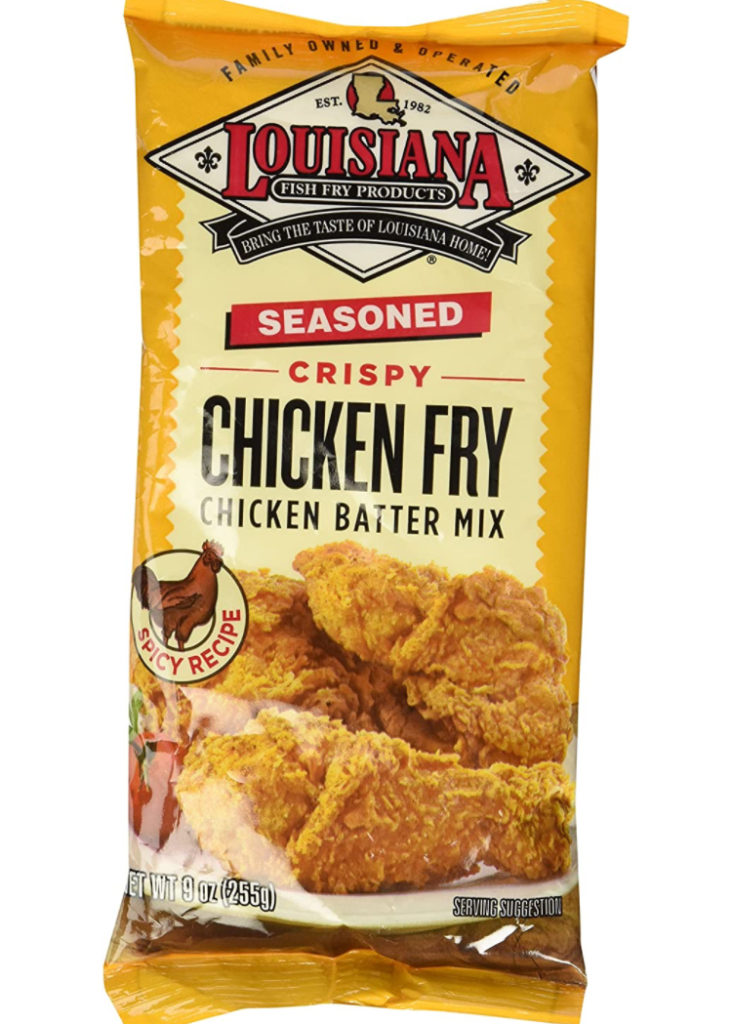
CHICKEN SEASONING– There are a ton of chicken seasonings out there to try and I haven’t tried them all. This however, is my favorite one to date. It has a little spice to it but the flavor is great.
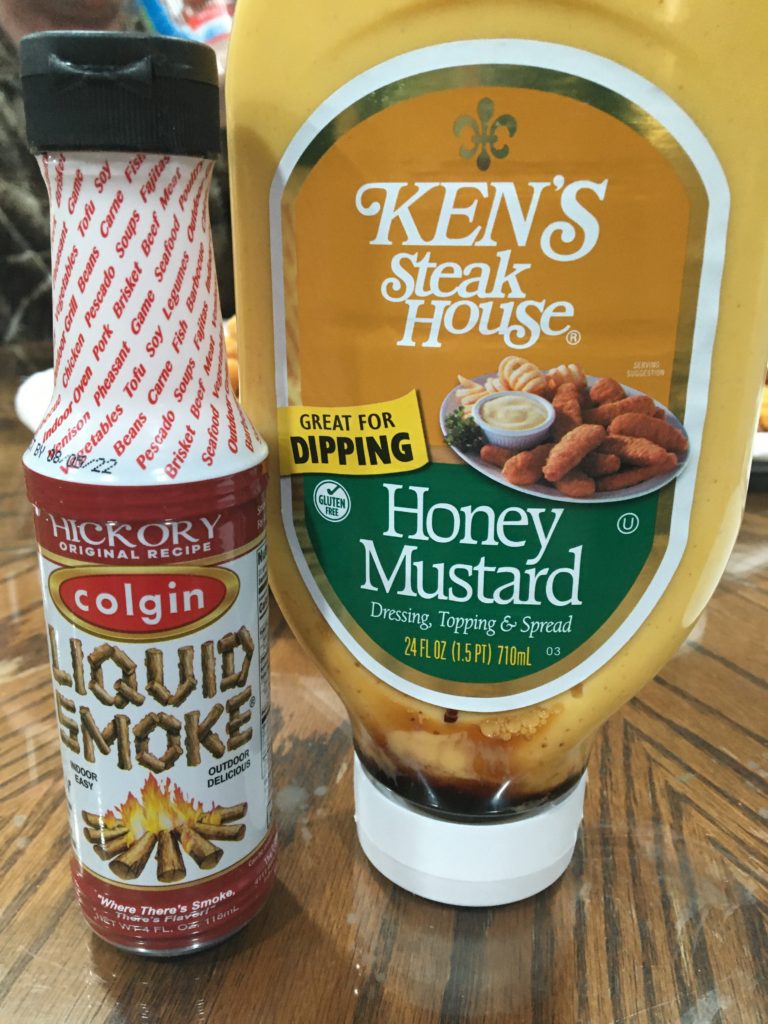
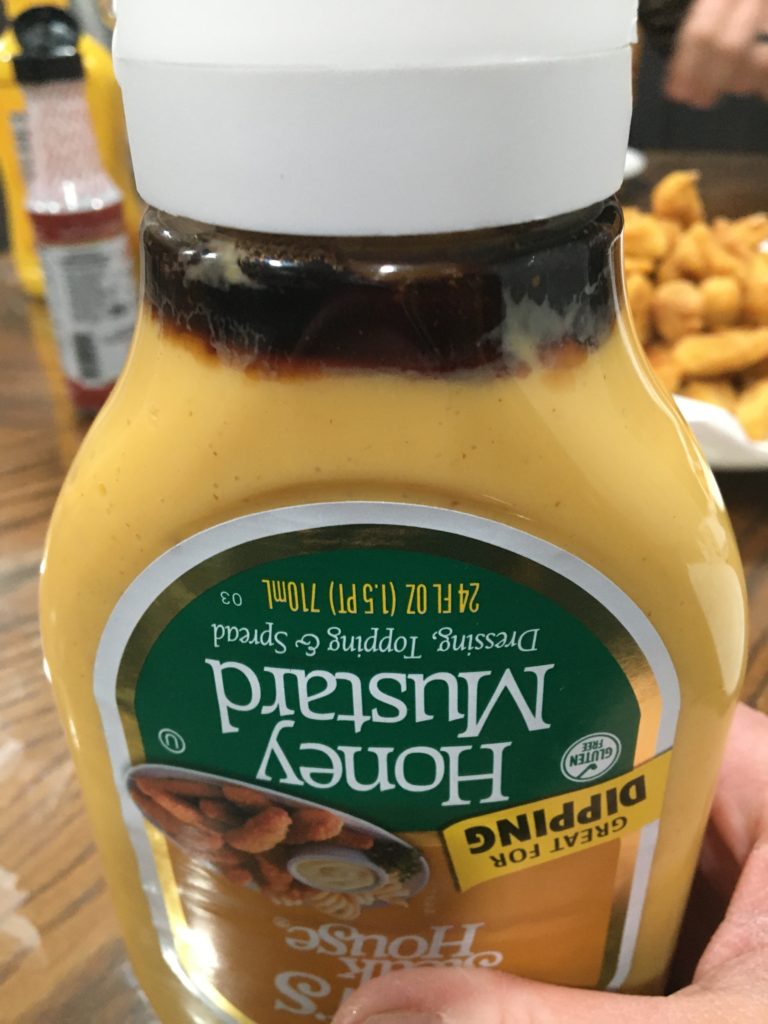
HONEY MUSTARD DRESSING– This will be used in making your homemade Chick-fil-a sauce. I use the big squeeze bottle for my family because the smaller bottles don’t have a spill proof lid and thier plates were swimming in sauce. The squeeze spout keeps the “awesome sauce” in the bottle!
LIQUID SMOKE– You won’t need a huge bottle of this, as a little goes a long ways. I can usually get about 3 sauce recipes out of one little bottle of smoke.
Dinner Prep
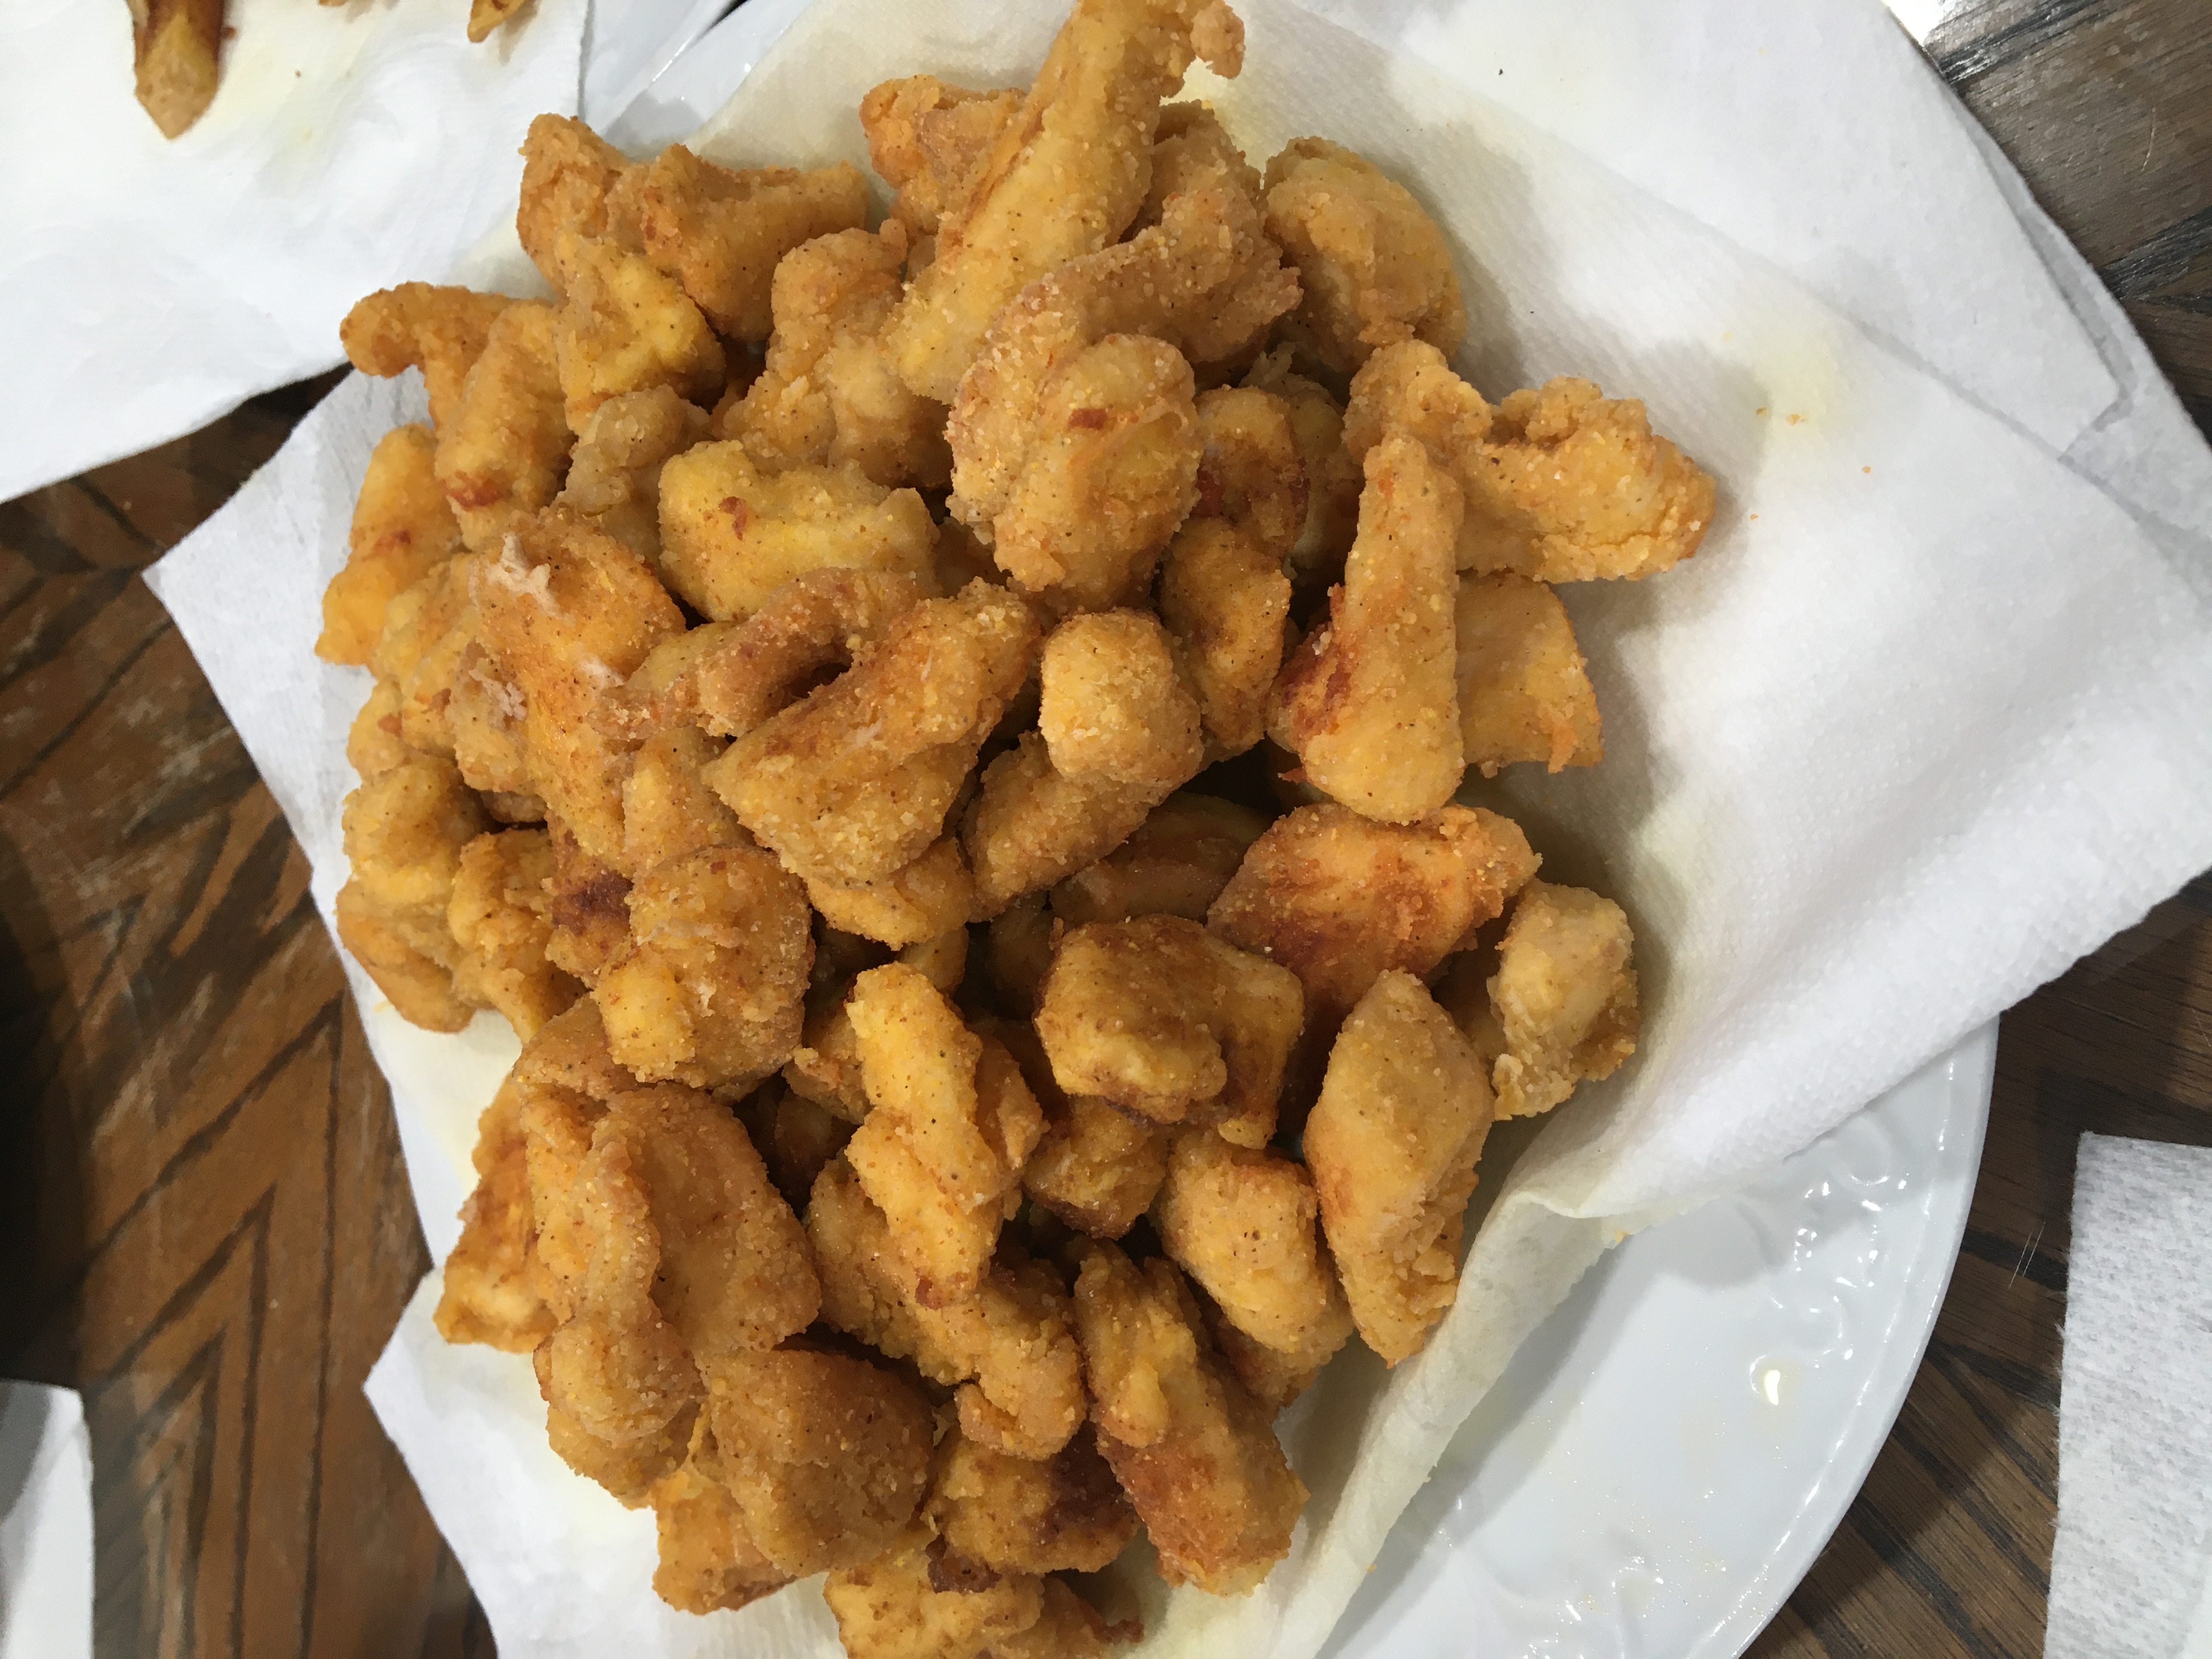
For the chicken: I start by chopping my chicken into bite size pieces roughly an 3/4″ in size. You can make them any size that you want really. If it makes it easier for your family to have chicken tender size pieces then do what works for you.
Then I put my chicken breading in a quart or gallon size bag, depending on the number of breasts I am cooking. I can always add more breading if I need it. I bread small batches of chicken at a time. If you add too many they will stick together and not get evenly coated.
I fry my chicken in either avocado or vegetable oil. Use a smaller frying pan and put about a 1/2” of oil in the bottom. I start the burner on medium heat. If you cook it too hot too fast your chicken won’t get done in the middle and your breading will burn.
I then cook my small batches of chicken, sampling often, until all the chicken is cooked.
This is about how much liquid smoke I put in my bottle
For the sauce: This is the easiest step, I open the jar of honey mustard dressing and put about 1 to 2 TBSP of liquid smoke directly in the bottle. We like ours smoky so we use more. Then put the lid back on and shake, shake, shake. It takes a while for it all to mix. I then squirt a little of the sauce out and make sure its flavored enough. Adjust to your liking and enjoy.
Dinner Is Served
We usually serve this dinner with a side of potatoes. You can either cut and fry your own or they have several good frozen options at your local grocery store. You can make this meal your own by adding any side that you all enjoy. My family loves homemade Chick-fil-a night at home but we are counting down the weeks until we can enjoy the real thing again soon!
I have always been an on the go type of person and have always had several things to do in my life. Keeping myself organized and on task wasn’t that difficult…… then came the tiny humans! That is to say, pregnancy brain is a real thing and I don’t think I have every fully recovered (my youngest is 7)! I have made it my goal in 2021 to get my ducks in a row. This is not an elaborate attempt to have a fully color coded calendar and lists galore, its a busy mom’s perspective on how to organize amidst the chaos and set up for a more streamlined day and how you can join me on this adventure from chaos to sanity!
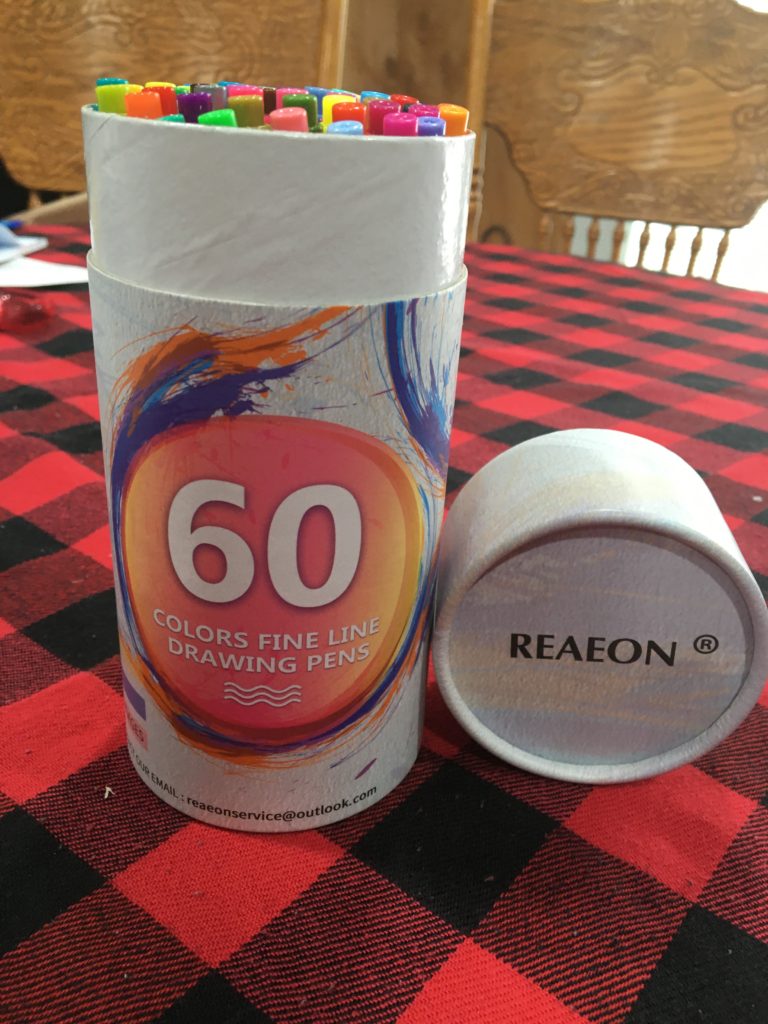
How to Organize Using New School Supplies for Mama!
I am a school supply nerd! I love the new boxed and the fresh pads of paper! When 2021 came around I ordered a few things that I knew would help me get my life in order. Again Rome wasn’t built in a day and I know that I will not conquer this quest in a few short months either. I am simply putting little steps together so that I can develop better habits in the morning and throughout my day. Keeping me accountable if you will.
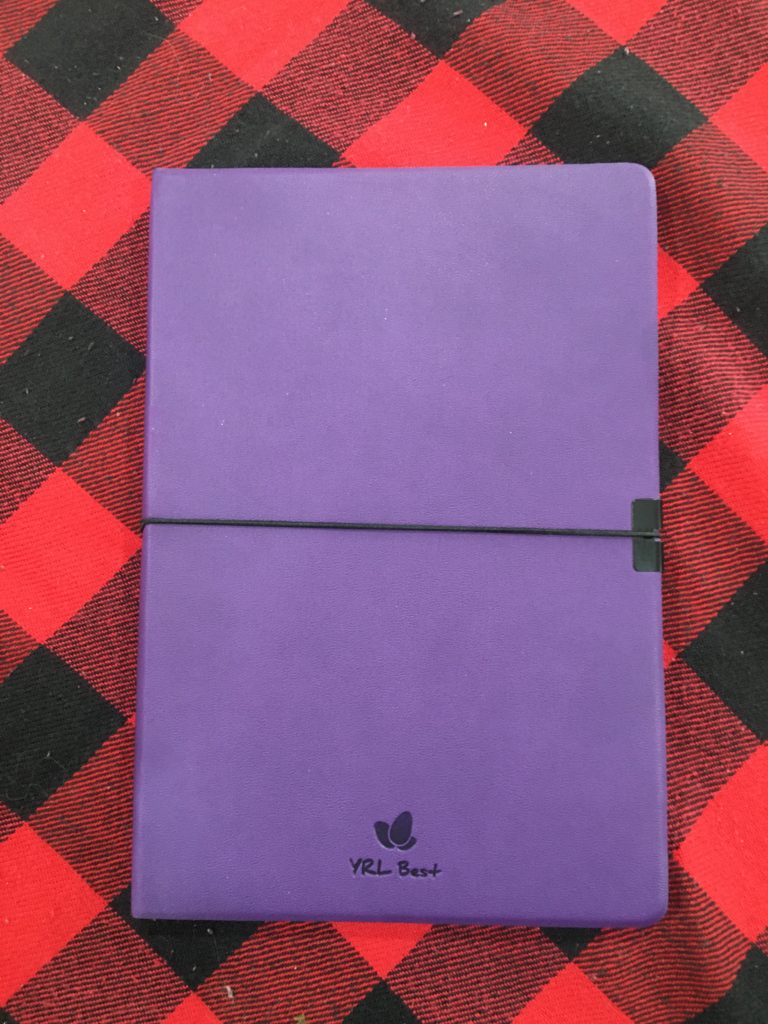
Bullet Journal– To have my monthly chores at a glance I chose this book to customize myself — YRL Best Bullet Notebook
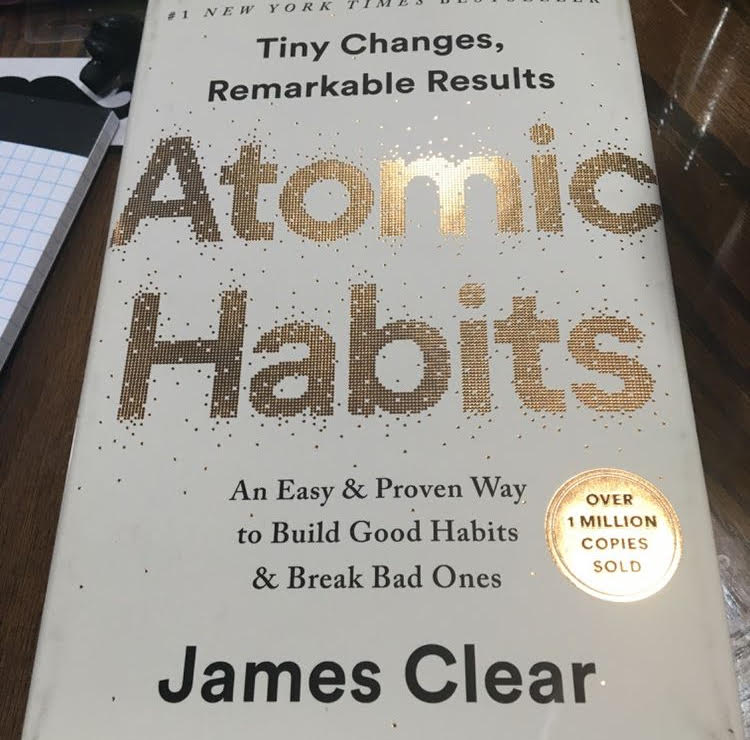
Atomic Habits- I bought this book to read for the new year and I absolutely loved it. It breaks down your hectic life and only asks you to get 1% better… I’m in! Check out Atomic Habits.
Getting My Mind Organized
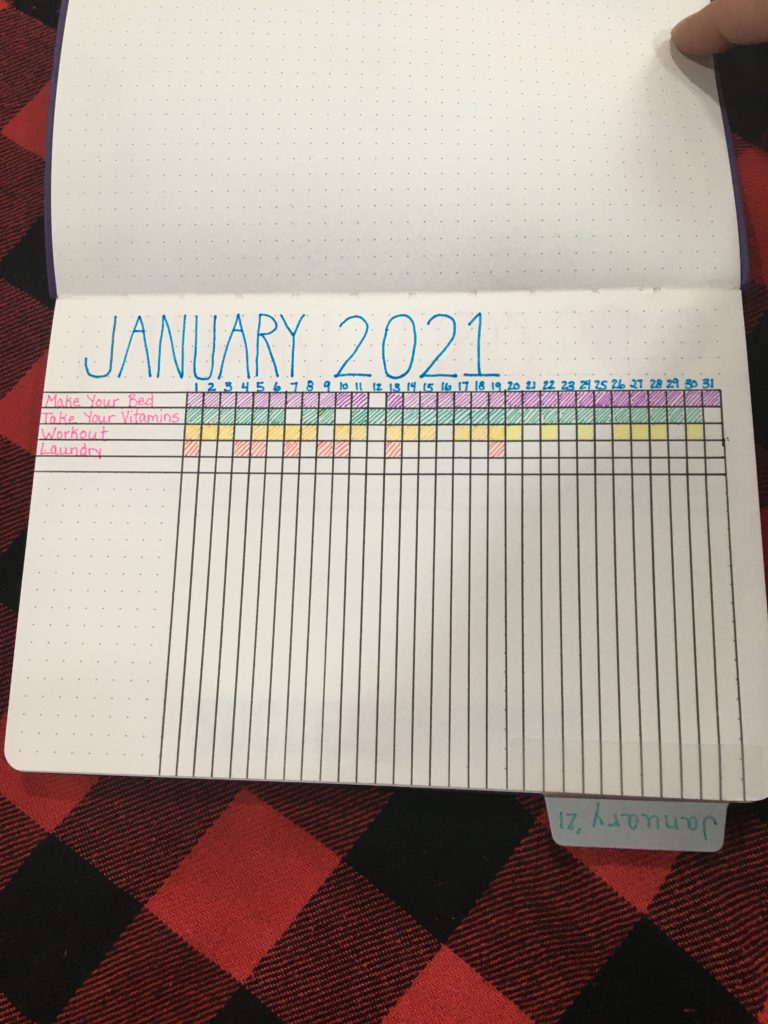
As I began this process I wasn’t trying to make a whole life overhaul but I knew I needed to start somewhere. This mama suffers from the something shiny disease (squirrel!!) and I needed a way to have more focus in my life starting first thing in the morning. I actually gave myself a lot of grace for the month of January and my main goal was to take my vitamins and make my bed every day. I know this sounds silly but it had to be something that I could accomplish everyday and see some progress. The other items on my list were things that I wanted to get done but they weren’t my main goal. (Case in point my laundry, it didn’t get very many “X”s!)
My Process For Organization
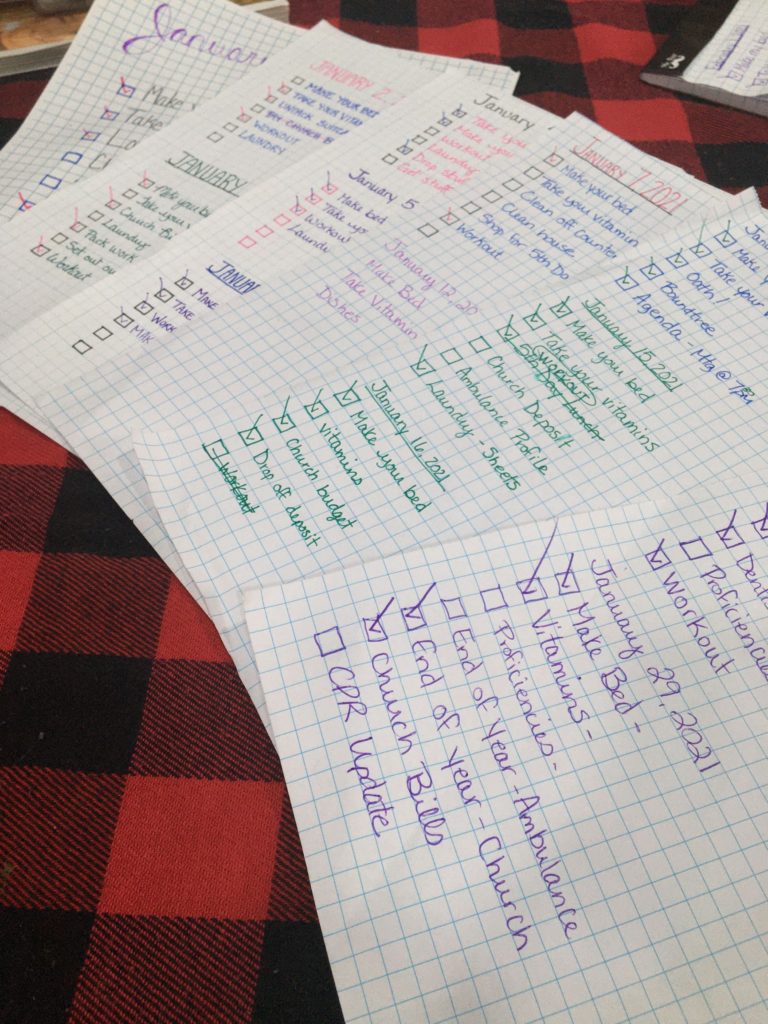
Firstly, I use the graph paper to write a daily To-Do list. It was just a few things written in for the day. A few difficult things and a few easy things. I added the easy things so I was at least accomplishing something for the day if my train was to derail and my day fell off the tracks!
Secondly, reading Atomic Habits was a great choice for me because it put a concrete goal to my organization. The author was able to overcome a traumatic brain injury and get his life back in order using small steps and conscious repetition in his daily life. He used tiny steps to accomplish big things. The way he broke down his process and made it easy to follow was great for a busy mom like me.
In addition, I also made a monthly calendar in my bullet journal. I picked a few tasks to focus on for the month of January. My main goals again were vitamins and my bed. As a result, I could see where I was excelling and where I was falling short.
In Conclusion
The progress I made this month was a great step in the right direction! I made a conscious effort to put my crazy mom brain on paper. I feel like it was a great step in the right direction. Each month I will progress with another habit. Who knows maybe someday laundry will get a few more checks?! Ha ha ha! But that is for another month!

Recent Comments